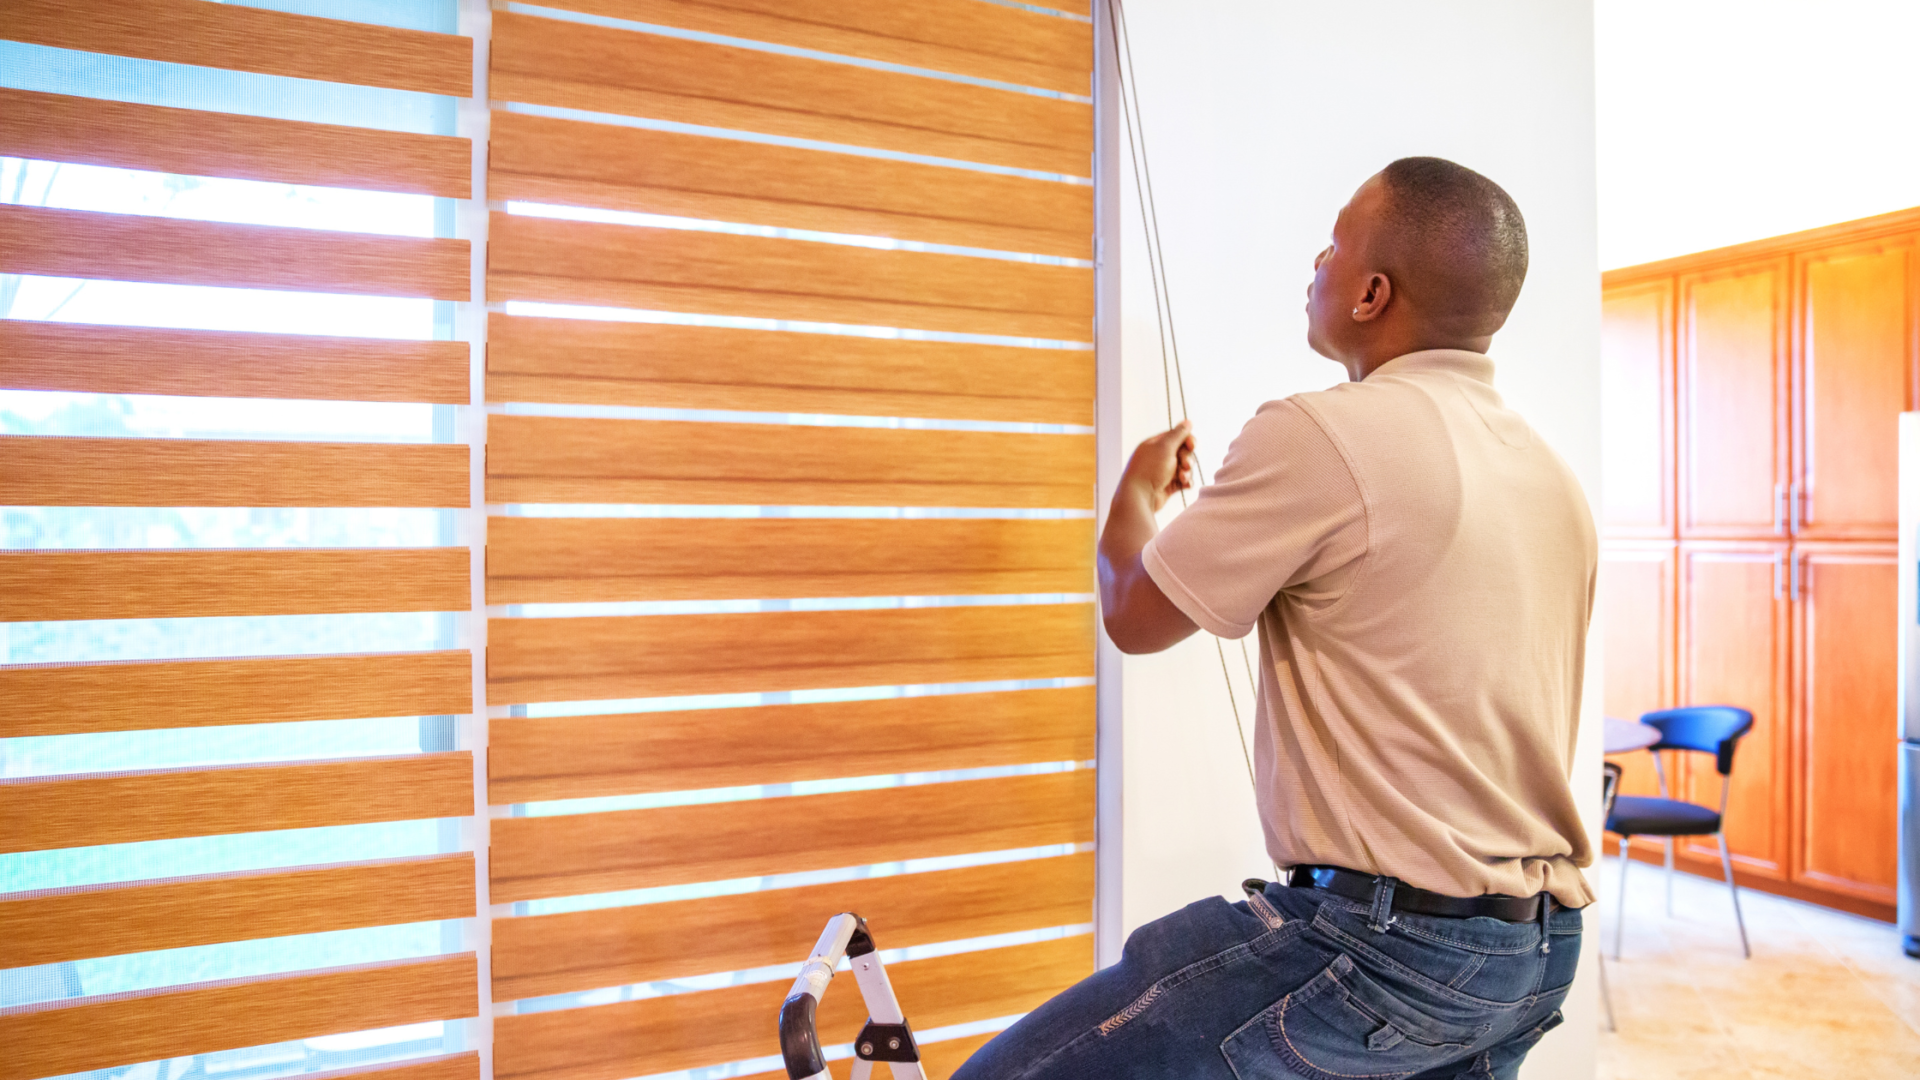
DIY Installation Guide for Nashville Window Blinds
Installing window blinds on your own can be a rewarding project, allowing you to customize your living space while saving on installation costs. This guide will walk you through the process of installing window blinds, from selecting the right tools to ensuring a perfect fit with Dynamic Delivery Blinds!
Tools and Materials You’ll Need
Before you start installing your window blinds, gather the necessary tools and materials. Having everything on hand will make the process smoother and more efficient.
- Tools Required: Measuring tape, pencil, drill and drill bits, level, screwdriver, and ladder or step stool.
- Materials: Window blinds, mounting brackets (usually included with the blinds), screws, and wall anchors (if mounting on drywall).
Measuring Your Windows
The first step in your DIY window blinds installation is measuring your windows accurately. Incorrect measurements can lead to blinds that don’t fit properly, causing unnecessary frustration.
- Measure the Width: Measure the width of the window at the top, middle, and bottom. Use the narrowest measurement if installing inside the frame, or the widest measurement if mounting outside.
- Measure the Height: Measure the height of the window from the top to the sill at the left, center, and right. Use the longest measurement for both inside and outside mounts.
- Check for Obstructions: Ensure there are no handles, locks, or other obstructions that might interfere with the blinds’ operation.
Installing the Mounting Brackets
With your measurements in hand, it’s time to install the mounting brackets. These brackets are what will hold your window blinds in place.
- Position the Brackets: For inside mounts, position the brackets at the top of the window frame, ensuring they are level and equidistant from the edges. For outside mounts, position them above the window frame or on the wall.
- Mark the Holes: Use a pencil to mark where you’ll drill the holes for the screws. Double-check the positioning with a level before drilling.
- Drill the Holes: Drill pilot holes where you marked, then attach the brackets using screws. If you’re mounting on drywall, use wall anchors to ensure the brackets are secure.
Attaching the Window Blinds
Once the brackets are in place, attaching the window blinds is a straightforward process.
- Insert the Headrail: The headrail is the top part of the blinds that holds everything together. Insert it into the brackets and snap it into place. Ensure it’s secure and level.
- Attach the Wand or Cord: If your blinds have a wand or cord for adjusting the slats, attach it now. This is usually a simple clip-on process.
- Test the Blinds: Lower and raise the blinds several times to ensure they operate smoothly. Adjust as needed.
Final Touches
After the blinds are securely installed, make any final adjustments to ensure they function correctly.
- Trim Excess Length: If the blinds are too long, follow the manufacturer’s instructions to trim them to the correct length.
- Check the Alignment: Ensure the blinds are level and aligned properly. Small adjustments can often be made by repositioning the headrail or brackets.
About Dynamic Delivery Blinds – Nashville Window Blinds
For those who prefer a professional touch, Dynamic Delivery Blinds offers top-of-the-line motorized and custom window treatments. Whether you’re looking for the perfect blinds for your home or business, Dynamic Delivery Blinds has the expertise to help you achieve the ideal look and functionality. Visit us at Dynamic Delivery Blinds to explore our full range of options and schedule a consultation with our expert team!